Lasagna Gardening: The Lazy Gardener’s Secret Weapon Explained
We are reader-supported. When you buy through links on our site, we may earn affiliate commission.
If there’s a cultivation method perfect for green thumbs who want to check off more things on their checklist but with less effort, it’s lasagna gardening. Despite the name, it has nothing to do with cheese and pasta sheets but everything with layering. This no-dig, low-maintenance technique is rising in popularity for time-strapped growers because it’s simple and it works.
What Is Lasagna Gardening?
Lasagna gardening — also known as sheet composting or no-dig gardening — is a regenerative and low-effort method for creating productive plots directly on top of any existing ground, including grass, soil, or even concrete.
Instead of going downwards, digging and tilling the soil, gardeners build up alternating layers of browns, such as dried leaves and greens like vegetable scraps, as if assembling a lasagna. The rows gradually break down over several months into beautiful, dark, crumbly soil full of beneficial microbes and earthworms that plants absolutely love.
Why It Works and Why It’s a Lazy Gardener’s Dream
Lasagna gardening isn’t about being lazy in a negative sense but about being smart with one’s time, energy, and resources.
Requires Minimal Labor
There’s no need to turn over heavy soil. Instead, gardeners stack organic materials in alternating layers of carbon-rich browns and nitrogen-rich greens. As gravity and natural decomposition take over, the pile disintegrates and compacts on its own. Even seasoned cultivators with limited mobility can build and maintain a bed without rototillers or heavy equipment.
Low Maintenance
Once established, lasagna beds hold moisture more effectively and suppress invasive plants naturally. The layered structure acts like a sponge, helping retain water and blocking sunlight from reaching weed seeds. As a result, the garden requires less watering and weeding throughout the season.
Eco-Friendly
This method transforms common kitchen and yard scraps into a valuable soil-building resource. Food waste and yard trimmings make up about 33.7% of the waste Americans produce, materials that could easily be composted. Lasagna gardening keeps those waste items out of landfills, cutting methane emissions.
Improves Soil Health
As the layers decompose, they replicate the slow, natural processes that Mother Nature has perfected on forest floors. Organic matter breaks down gradually, feeding the soil and encouraging a thriving ecosystem of earthworms, fungi, and beneficial microbes.
Cost-Effective
There’s no need to buy expensive soil or compost. Most materials, such as grass clippings, leaves, vegetable peels, newspaper, and cardboard, are free and available around the home.
What You Need to Get Started
One of the best things about lasagna gardening is that anyone can start immediately. These are the materials required.
- A base layer of wet newspaper or cardboard soaked in water. This smothers existing weeds and grass.
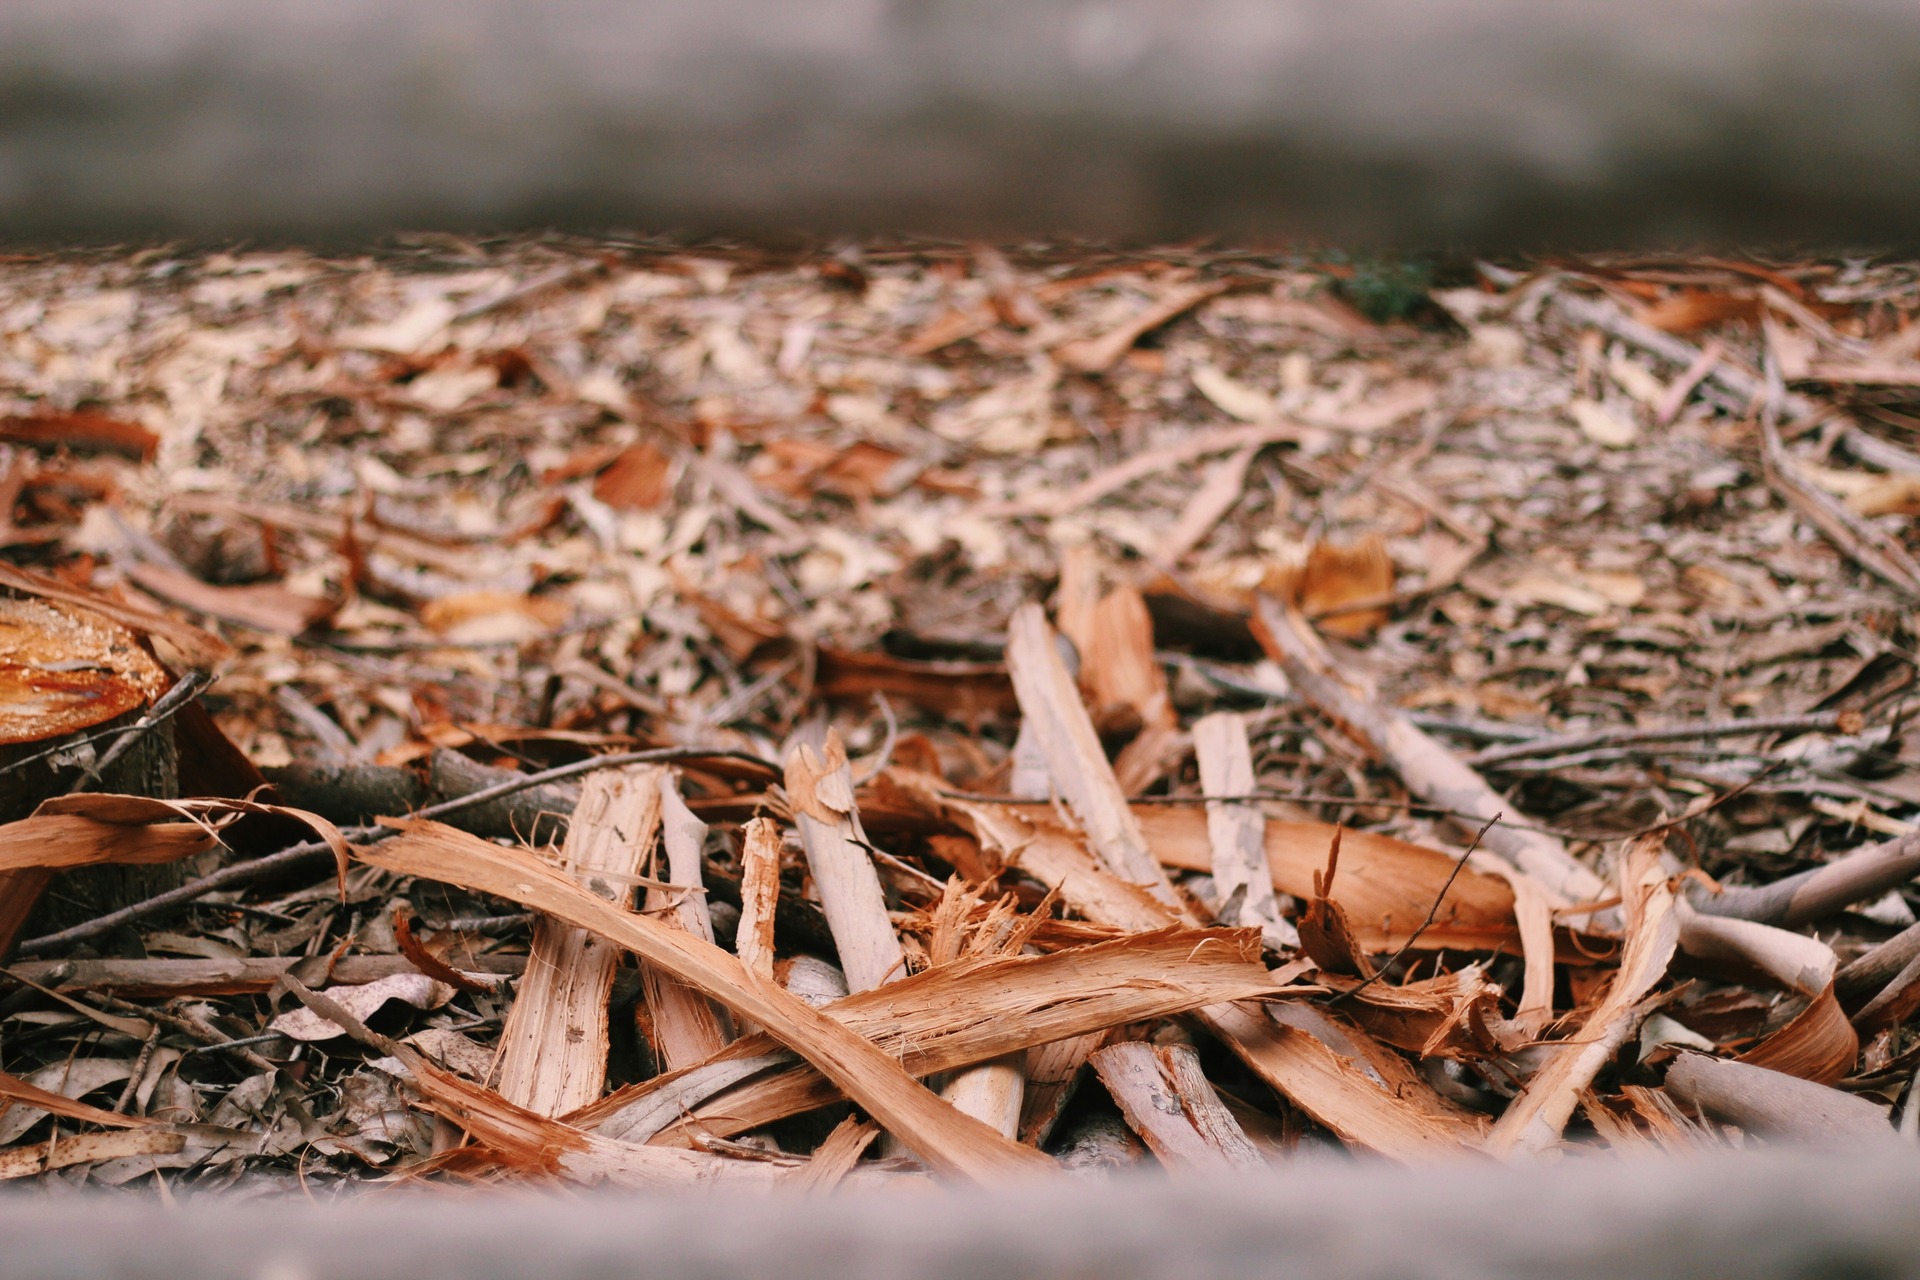
- Brown matter include dried leaves, straw, hay, sawdust, wood shavings, or shredded newspaper. Use what’s available.
- Green input such as grass clippings, coffee grounds, vegetable and fruit scraps, and aged manure from plant-eating animals only.
- Optional soil enhancers include bone meal for phosphorus, blood meal for extra nitrogen, finished compost, and alfalfa pellets.
- Water to hydrate each layer
- Mulch to top it off and retain moisture
When to Build A Sheet Compost Garden
While it’s possible to start a lasagna garden at any time, fall is considered the ideal season for building it. Autumn leaves provide an abundant source of brown material, and winter’s natural freeze-thaw cycles help degrade the layers more quickly through physical crumbling and chemical changes. That said, the timing is flexible and gardeners can begin at any point in the year.
If planting in spring, it’s best to build the bed and water it thoroughly. Because the layers haven’t had time to decompose fully, it will likely need more soil amendments such as compost, peat, or topsoil to support immediate planting.
Sow directly into a thick top blanket of finished compost or aged material. As the plants grow, the underlying layers gradually decay, enriching the soil and feeding the crops. New spring beds may require more frequent watering, as the early piles may not yet preserve moisture effectively.
If starting in late winter, build the bed and allow it to rest and break down for a few months. It will be more biologically active by spring and better suited for planting.
How to Build a Lasagna Garden
Starting a no-dig garden is easy, and many green thumbs have found success in building them.
1. Choose a Spot
Select a leveled location that receives at least six to eight hours of full sun, ideal for growing most vegetables. Avoid areas with heavy foot traffic. If possible, choose a spot close to a water source, like a hose or rain barrel, for easier irrigation.
Avoid placing the garden under large trees, as they may compete for nutrients and shade the plants. Have it a little farther from the home so the potential smell of decomposing materials doesn’t reach open windows.
2. Mow and Fork
Cut grass or weeds as low as possible using a lawn mower or trimmer. There’s no need to remove the clippings as they’ll biodegrade within the layers. Some people completely skip this step and lay their base directly.
However, if the area is trimmed, use a garden fork or broad fork to loosen and aerate the soil underneath gently. This helps improve drainage and root penetration without disrupting the soil ecosystem. Avoid using a rototiller, which can destroy soil structure and bring up dormant weed seeds.
3. Lay the Base
Cover the entire area with multiple sheets of wet newspaper or one layer of cardboard. Allow a six-inch overlap between the edges to ensure that weeds don’t poke through. Soak thoroughly with water to help them conform to the ground and start breaking down. Only one base is needed, and it doesn’t need to stack high.
Remove any tape, staples, or glossy ink from cardboard and newspaper before use.
4. Start Layering
Begin by alternating brown and green materials. Start with a 2 to 4-inch zone of dry leaves, shredded paper, straw, sawdust, cardboard shreds, or untreated wood chips. Follow that with a 1 to 2-inch layer of fresh grass clippings, vegetable scraps, coffee grounds, garden trimmings, or manure.
Good airflow in the early layers is essential, as it promotes aerobic bacteria that help dissolve the materials efficiently. Always lay browns before greens to reduce odors, and aim for a general ratio of three parts brown to one part green to maintain a healthy balance of nutrients and avoid imbalances.
Continue layering until the pile reaches 18 to 24 inches in height, hydrating each as necessary. The goal is a texture similar to a wrung-out sponge, moist but not soggy.
Optionally, sprinkle bone or blood meal every few layers to enhance microbial activity and boost phosphorus and nitrogen levels. Think of it as adding the cheese to the compost lasagna. Lastly, avoid including dairy, meat, oily foods, or pet waste, as these can attract unwanted pests.
5. Top With Compost
Add a two-inch layer of mature, finished compost or well-aged manure. This will act as the initial growing medium for seeds or transplants and give them immediate access to nutrients. Shallow-rooted crops can be planted directly into this top material or wait six to eight weeks for deeper-rooted crops while the layers settle.
6. Add Mulch
Lastly, apply a two to six-inch layer of organic ground cover, such as straw, shredded bark, pine needles, or dried leaves. Mulching helps conserve moisture, regulate soil temperature, and further suppress weed growth. Replenish mulch as needed throughout the growing season.
How Long Before It Turns to Soil?
The entire decomposition process typically takes three to five months, making autumn an ideal time to begin so the soil is fully broken down and ready for planting by spring. However, the timeline can vary based on moisture levels, material size, and temperature. Tear waste items into smaller pieces to accelerate the process and dampen each layer thoroughly before adding the next.
The compost is ready when the pile has transformed into dark, crumbly soil with little or no visible traces of the original materials.
Garden Smarter, Not Harder
While there’s no such thing as zero-effort farming, lasagna gardening is a smart, efficient approach that comes close. Skip the crouching and digging. This is gardening one can mostly do standing up.
All it takes is a bit of planning, some compostable materials, and a willingness to let nature handle the hard work. A patch of grass, a pile of veggie scraps, and a free afternoon is all it takes to create a lush, eco-friendly garden.
Share on
Like what you read? Join other Environment.co readers!
Get the latest updates on our planet by subscribing to the Environment.co newsletter!
About the author

Steve Russell
Steve is the Managing Editor of Environment.co and regularly contributes articles related to wildlife, biodiversity, and recycling. His passions include wildlife photography and bird watching.


