How to Grow Mushrooms in a Jar
We are reader-supported. When you buy through links on our site, we may earn affiliate commission.
If you’re looking for more sustainable food choices, one of the best ones — that is, if you like them — are mushrooms. Even for beginners, they’re easy to grow and yield plenty of delicious food. Not to mention, they’re still an option for those who don’t have a lot of space.
Ready to learn how to grow mushrooms in a jar? Here is a look at what you’ll need and why raising your own is a practical choice.
Cultivating Your Own Mushrooms Is Safer Than Foraging Them
When the pandemic started, a lot of people felt afraid to do many of the things they were used to — including going to the grocery store.
They also found themselves on the internet a lot more. You’ve likely heard about how TikTok exploded in use during quarantine since everyone was looking for something new to focus on. While needing food but being afraid of crowded spaces, many turned to the foragers on this social media platform for advice.
Searching for food in the woods is a great practice but can also be dangerous. Forager Alexis Nikole Nelson often ends her TikToks and Instagram reels with “Happy snacking! Don’t die!” for exactly this reason. Many safe fungi and plants look incredibly similar to their poisonous counterparts, so you must forage carefully.
Growing mushrooms in a jar might not be as adventurous as scouring the forest floor, but it is safer. Since you know exactly what you’re getting, there’s no chance you’ll accidentally poison yourself by picking up the wrong toadstool. You’ll be picking out exactly which fungi you want to grow.
However, don’t let this dissuade you if you want to pick up foraging. It is enriching to find your nourishment from the Earth and learn as you go. You just need to be careful about precisely what you’re gathering.
What You’ll Need to Grow Mushrooms in a Jar
Once you’ve decided to make your own fungi, you’ll need to know what to get and how to create the best environment for your crop. Here are the steps for how to grow mushrooms in a jar.
1. Pick Out Your Toadstools
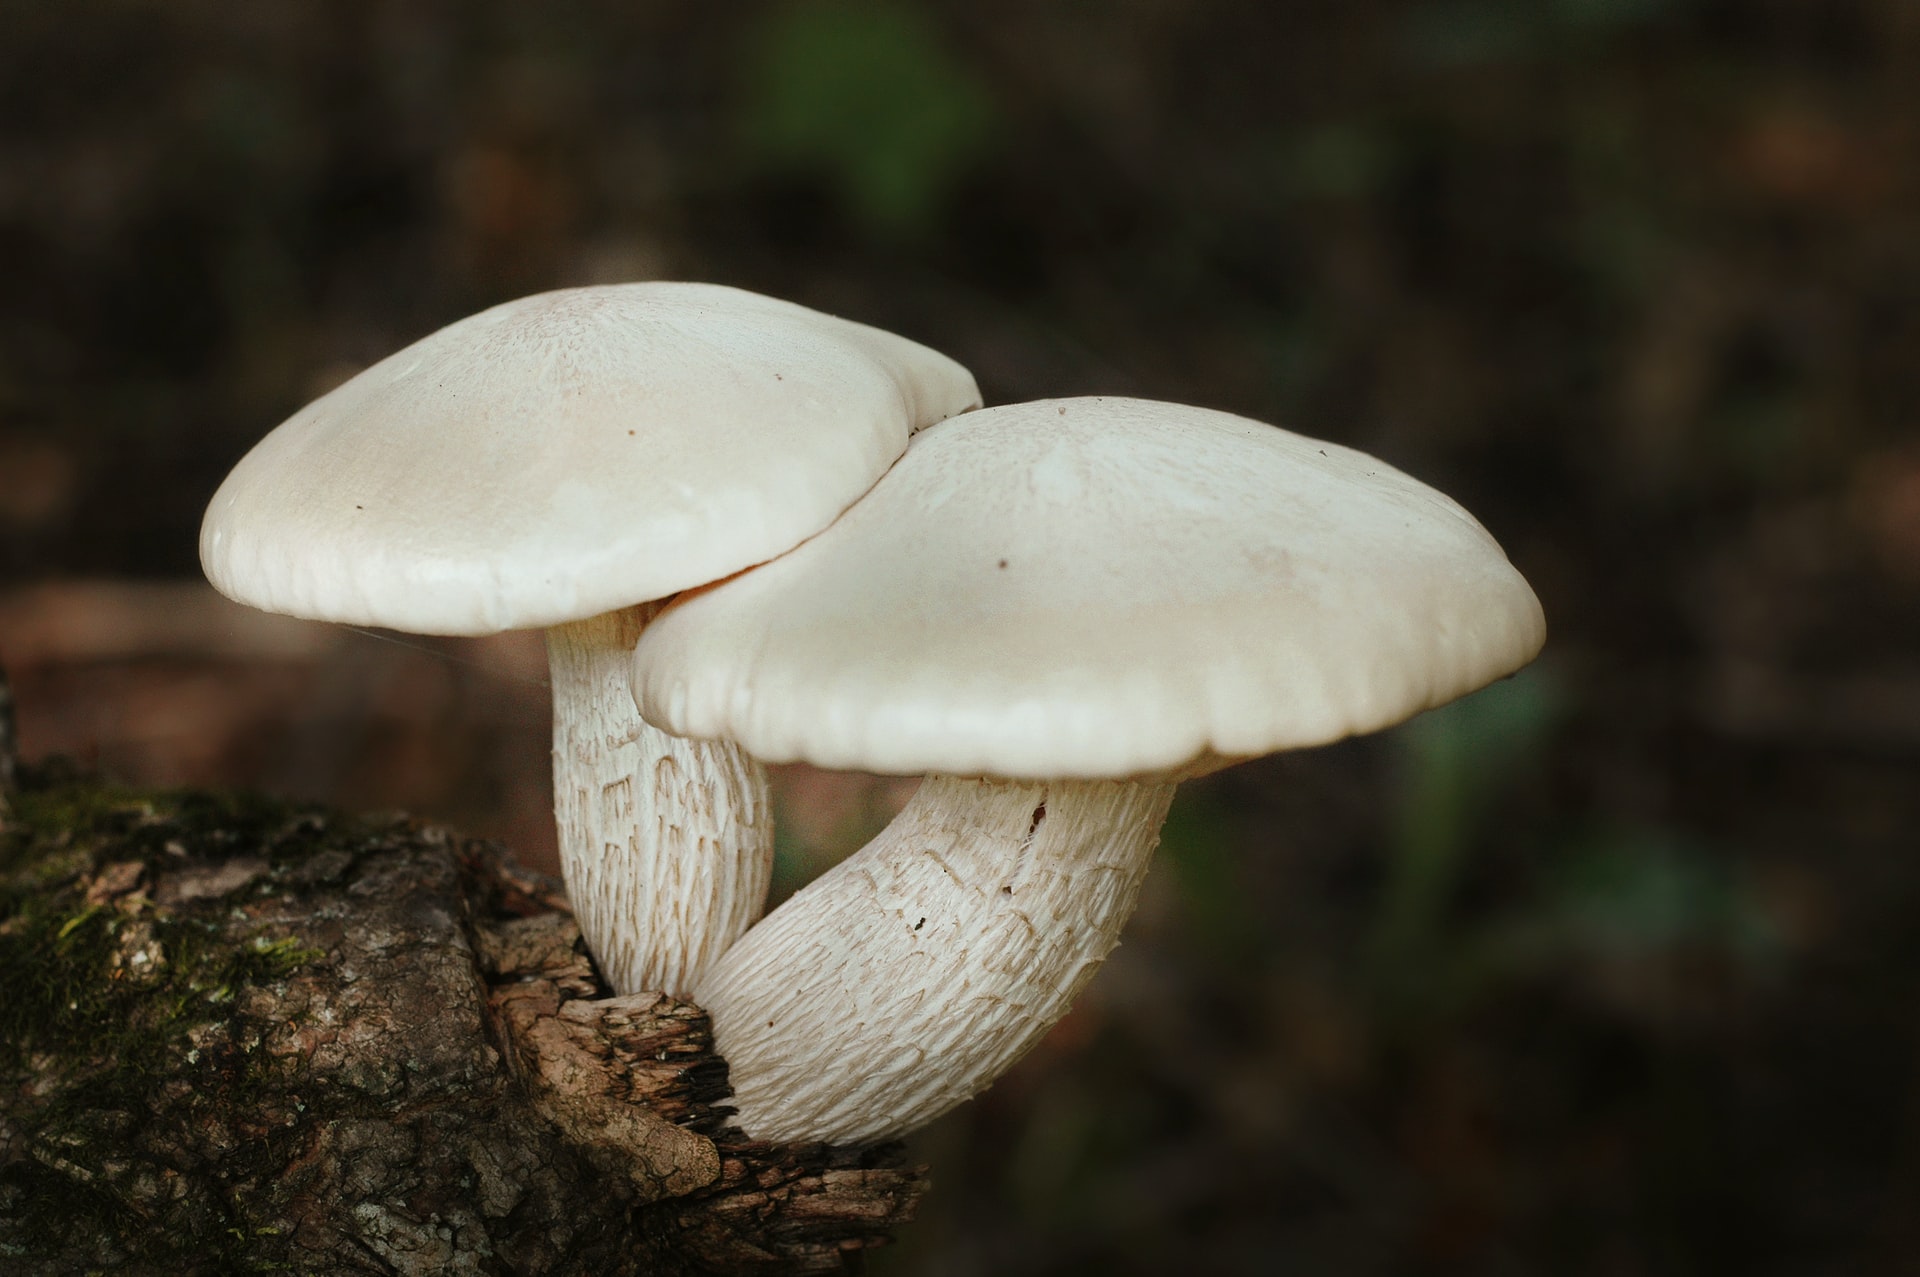
Before getting started, you should determine which mushrooms you want to cultivate. There are plenty of delicious options to choose from that will flourish in the proper conditions. A few easy fungi to grow at home are:
- Shiitake
- Oyster
- Maitake or hen-of-the-woods
- Button
Spores will require a syringe with a metal needle so you can later inject them into a clean jar. Instead of buying these, you could even propagate a crop from the ones you get at the store. If they still have their stems, you should be able to grow some more mushrooms from them.
2. Prepare the Substrate
If you’re just learning how to grow mushrooms in a jar, you might not know what substrate is. This is what the fungi will eat. It’s important to remember mushrooms aren’t plants — they can’t rely on only sunlight to feed themselves. They need something to digest so they can grow.
Every species likes different substrates to give them the nourishment they need. There are also a few typical substrates you could try using for the toadstools you choose. Some might also enjoy compost, which you can also do at home using food-based waste products.
You’ll need to prepare or sterilize some substrates, while others are easily ready for the jar. Research what kinds the mushroom you plan to develop likes.
3. Get a Mason Jar
Naturally, you’ll need to get yourself a jar for this experiment. Quart-sized glass ones are great to use because they’re a sturdy place for the mushrooms to grow. To prepare it for your toadstools, you’ll first need to sterilize the jar after washing your hands by placing it in boiling water for 10 minutes. Add one minute for every extra 1,000 feet of elevation where you live.
Canners do this for the same reason — because jars often contain microorganisms and dust you need to get rid of. Even if you bought new ones, you need to sterilize them before adding anything.
After sterilization, drill a few holes in the lid so the fungi can breathe. However, you’ll want to pull some stuffing through or tent them with tinfoil so there’s a filter.
4. Place the Substrate in the Clean Jar
Now you can start putting the prepared substrate in the sterile Mason jar, hydrating it as you go. Make sure the substrate is damp but not sopping wet. Fill it up to the threading where the lid goes on — about ½ an inch from the top.
After you’ve filled it, you may want to create a hole in the middle of the substrate. Some sources recommend this for ease of inoculation, but it’s not a required step.
5. Re-sterilize the Jar and Substrate
At this point, you’ll need to sterilize the jars again. You can either use a pressure cooker or steam them in a covered pot on a raised rack. Before doing so, make sure you seal the air holes in the jar’s lid with tape or cover them with aluminum foil.
If you’re using a pressure cooker, leave them at 15 pounds per square inch (PSI) for 45 minutes. If you’d prefer to steam them, fill a pot with 2 inches of water. Place a rack in the pot so the jars do not touch the simmering water. Leave them to sterilize for an hour to 90 minutes. Whichever method you use, let them return to room temperature before the next step.
6. Introduce the Mushrooms
Finally, it’s time to add the spores. You’ll have to do this process fast to avoid recontaminating the substrate.
Before doing anything, sterilize the syringe’s needle with a flame until it glows red hot and let it cool back down. Remove what you used to cover the holes in the lid, shake the syringe and use it to inject the spores into the substrate. Then, quickly recover those air holes, and voilà — you’ve performed a successful inoculation.
7. Let the Fungi Colonize and Fruit
After all that hard work, you should place your inoculated jars in a dim, warm space. How long it takes for colonization depends on what species you picked, so do your research about how long this process should take. If everything has gone well, your spores should have formed some white webbing and possibly created some small mushrooms.
Once your mushrooms have colonized, you need to ready them for fruiting. Again, this process will differ depending on your toadstools. Some like a lot of extra water, while others require you to introduce them to oxygen — or take off what you used to cover the holes in the jar. Look up what you need to do to start producing mushrooms and how long to leave them to grow.
After this process, leave the lid off to let the toadstools develop. Then, place a plastic bag over the jar and cut off a corner for air, or you could even make a fruiting chamber for your fungi. To do so, fill the bottom of a plastic container with wet paper towels and move the substrate on top of them. Cover with something that allows airflow and spray them with water a couple of times a day.
8. Harvest Your Mushrooms
After a few weeks, you should see some well-developed mushrooms growing from your jar or DIY fruiting chamber. Congratulations! Depending on what size they should be, you’re ready to harvest your toadstool crop and enjoy them.
Learn How to Grow Mushrooms in a Jar
Cultivating your own colony of fungi is a labor of love. While it takes a bit to accomplish, growing your mushrooms in a jar is a feat to be proud of. Grab some spores and supplies and get ready to enjoy some home-grown toadstools.
Share on
Like what you read? Join other Environment.co readers!
Get the latest updates on our planet by subscribing to the Environment.co newsletter!
About the author
Rachel Lark
Rachel serves as the Assistant Editor of Environment.co. A true foodie and activist at heart, she loves covering topics ranging from veganism to off grid living.


