We are reader-supported. When you buy through links on our site, we may earn affiliate commission.
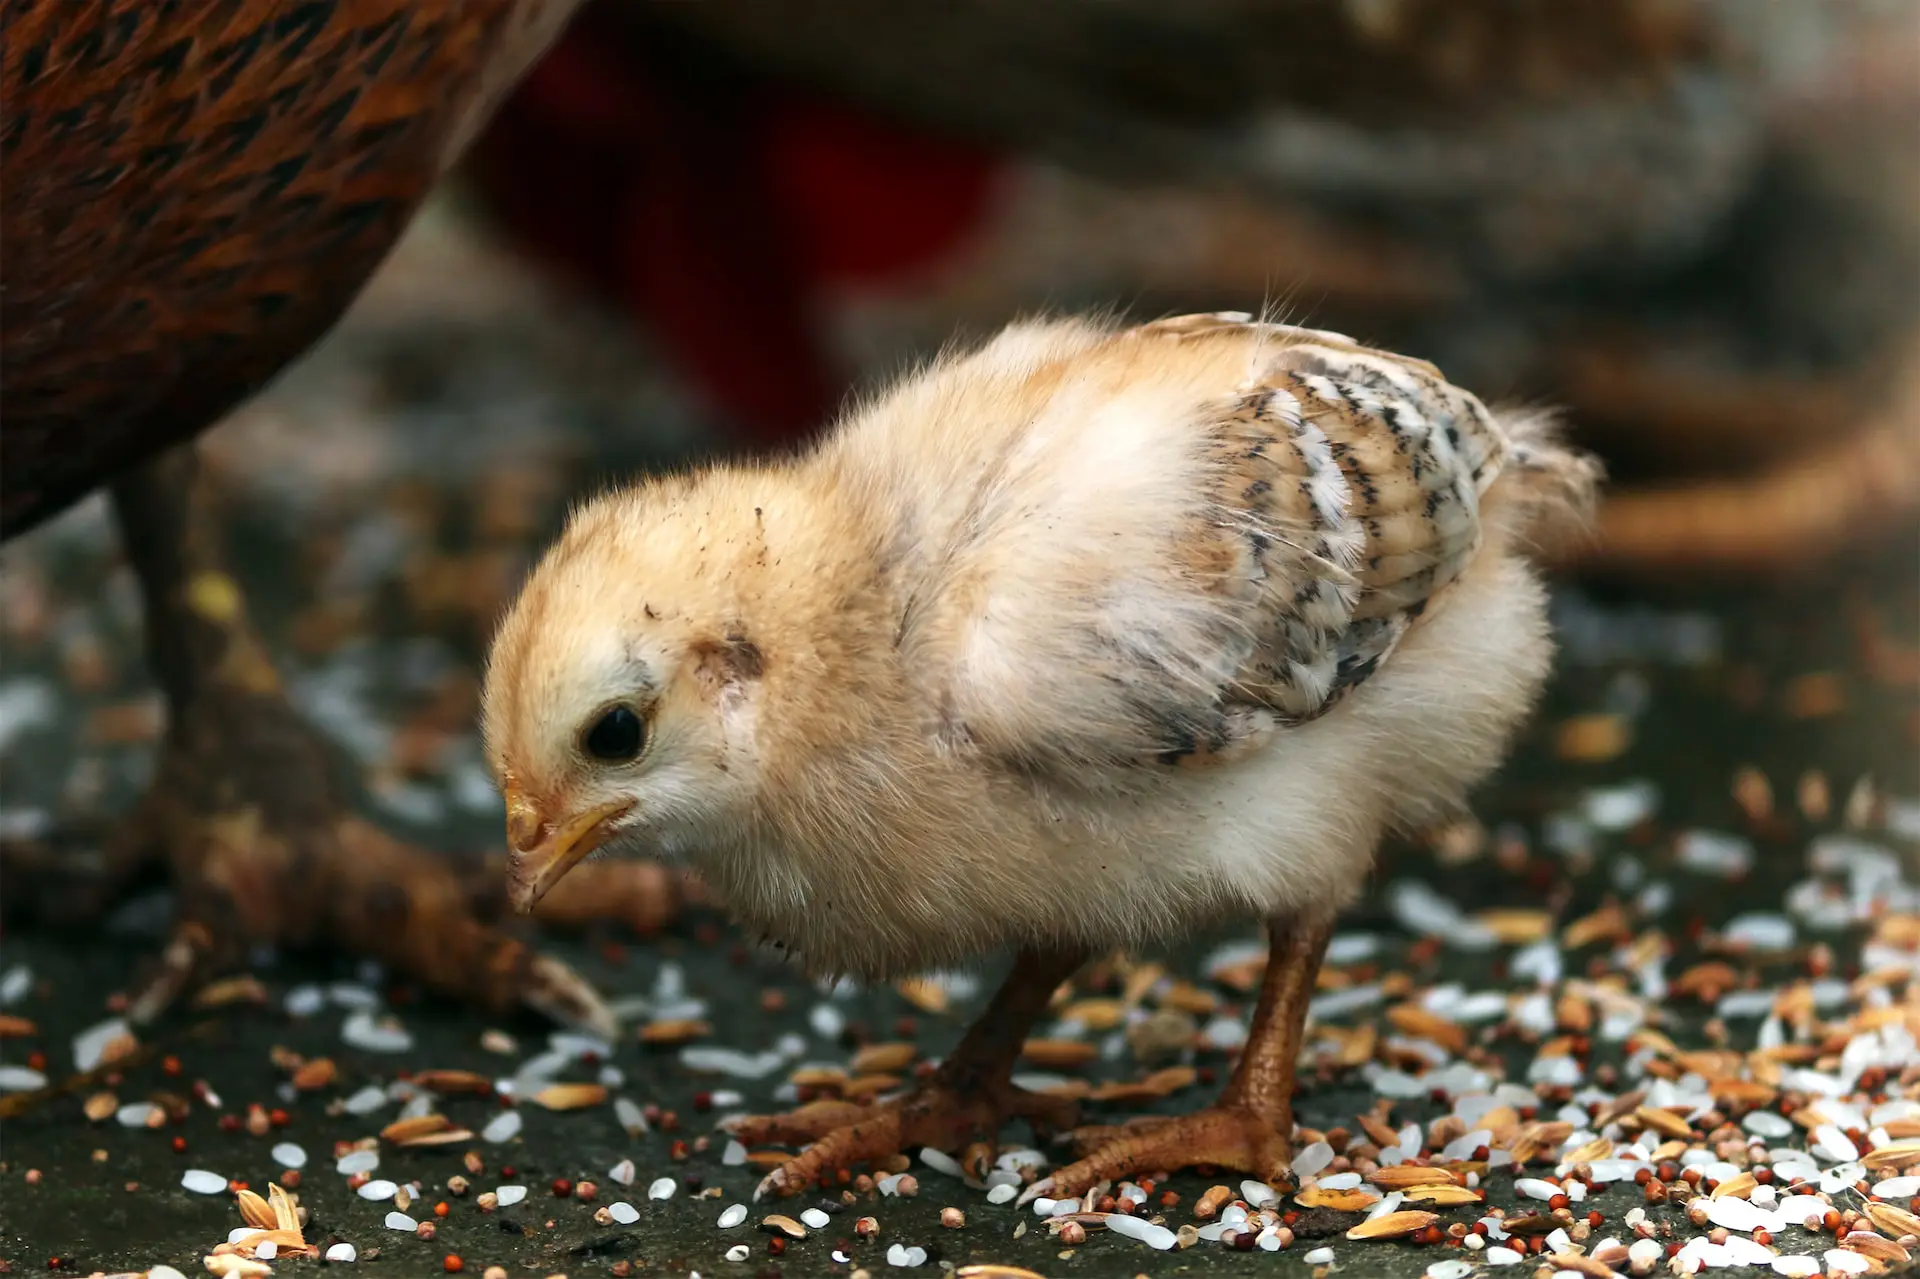
Small, fluffy, and almost achingly adorable, chickens are a strong contender for the world’s cutest baby animals. If the siren song of peeping lures you into Tractor Supply’s live animal section, you might come home with more than you had on your shopping list — baby chicks! Here are five things you need to do when raising baby chickens.
Chickens are social birds, which means being alone is very stressful for them. They will be much calmer and healthier living in a group. Although most supply stores won’t let you purchase just one baby chicken, you might find yourself with a solitary bird if you hatched it in an incubator, bought it from a farm, or even found it.
If so, you have a chick emergency on your hands! You now have the perfect excuse to buy more baby chickens — at least two, in fact. The minimum group size for chickens is three birds.
Unless you want to end up with three roosters, make sure you buy sexed pullets — guaranteed female baby chicks — so you don’t become the bane of your neighborhood. Nobody wants to hear three roosters sounding off before daylight. Plus, adult roosters do not get along in a group. Aim to keep no more than one rooster in your flock.
Now that you have at least three chicks, how do you keep them comfortable?
An important part of raising baby chickens is to set up a cozy brooder box. “Brooder box” just means a container for raising chicks. You can keep your birds in a spacious wire dog crate, plastic tub, or even a sturdy cardboard box for the first few weeks of their life. It doesn’t have to be anything fancy.
What it does need is a few key elements:
No, not the spicy kind — in fact, chickens don’t taste spiciness like people do! Rather, baby chicks are very vulnerable to cold, so they need a fluffy mama hen to protect them. In the absence of a hen, they need a warm brooder box.
Your brooder box might need a heat lamp depending on the air temperature. If you’re raising your chicks in the garage in the heat of summer, they’re probably already warm enough without one. But if you’re keeping them in a spare bedroom, you’ll almost certainly need a heat lamp — unless you keep your home at a balmy 95°F.
Here’s a breakdown of the ideal brooder box temperatures by week:
As you can see, it’s important to lower the temperature in the brooder box a little bit each week. You definitely need a thermometer to make sure you’re hitting the target temperature. You can buy a digital thermometer and hang it near the heat lamp inside the box.
If you’re using a heat lamp, position it on one side of the brooder box. That way the chicks can move out from under it if they need to cool off. You’ll see them huddled under it if they’re cold, staying far away from it if they’re hot, and wandering throughout the brooder box under ideal conditions.
Always use a heat lamp protector, which looks like a wire basket, to prevent your chicks from touching the bulb.
If you place your chick waterer on the floor of the brooder, odds are the chicks will kick it full of bedding, chick starter, and poop. It’s what birds do best. Luckily, there’s an easy alternative to dumping out the waterer every hour and cursing the existence of aspen shavings. Simply put the waterer on a raised platform.
A brick or paving stone works well for this purpose. Put the brick on the cool side of the brooder box — assuming you’re using a heat lamp — and set the waterer on top of it. Make sure the brick is short enough that the chicks can jump up onto it, or else provide a smaller step so they can access it.
You’re essentially making a raised platform the baby chickens can stand on while they drink. You may need to raise the platform a little as the chicks grow.
It’s also good to remind yourself that even if this technique doesn’t work perfectly, your chicks will only be in the brooder box for six weeks, and then they’ll take their mess outside. You can do this!
If the weather is warm and your chicks have started growing real feathers, you can start taking them on short outdoor excursions. You can usually start doing this when your chicks are four weeks old. Bring them outside in a wire dog crate so they’re protected from hawks and cats, and put cloth or a tarp over one side so they can have shade. Bring their waterer with them.
Set the crate in the grass so the chicks can learn about foraging. They will likely start experimenting with eating grass, dirt, insects, and small pebbles. It’s actually very important for chicks to eat tiny rocks since it allows them to digest their food better. After all, they don’t have teeth to grind up their food!
Always sit nearby to keep a close eye on your chicks. As they get older, start letting them out in the chicken coop for a few hours during the day, then put them back in the brooder at night. By six weeks, most chicks can live outside full time. They need a protected coop and a run with tightly-spaced wire so nothing can get in.
Watching chicks grow from tiny fluffballs to adult chickens is a lot of fun, and it happens faster than you’d expect. While you might make a few mistakes along the way, chickens are resilient animals, and they’re great for beginner homesteaders and backyard farmers alike. Have fun and enjoy raising your baby chickens — they’ll be laying eggs before you know it.