We are reader-supported. When you buy through links on our site, we may earn affiliate commission.
Starting a student garden at your school can be a great way to learn about biology, sustainability, healthy eating and more. Whether you are a student, parent or teacher, you can get started creating a student garden in a few easy steps. It may take some time, but the benefits are well worth the effort.
Why should you start a student garden? There are a few main reasons for creating a garden at your school, including:
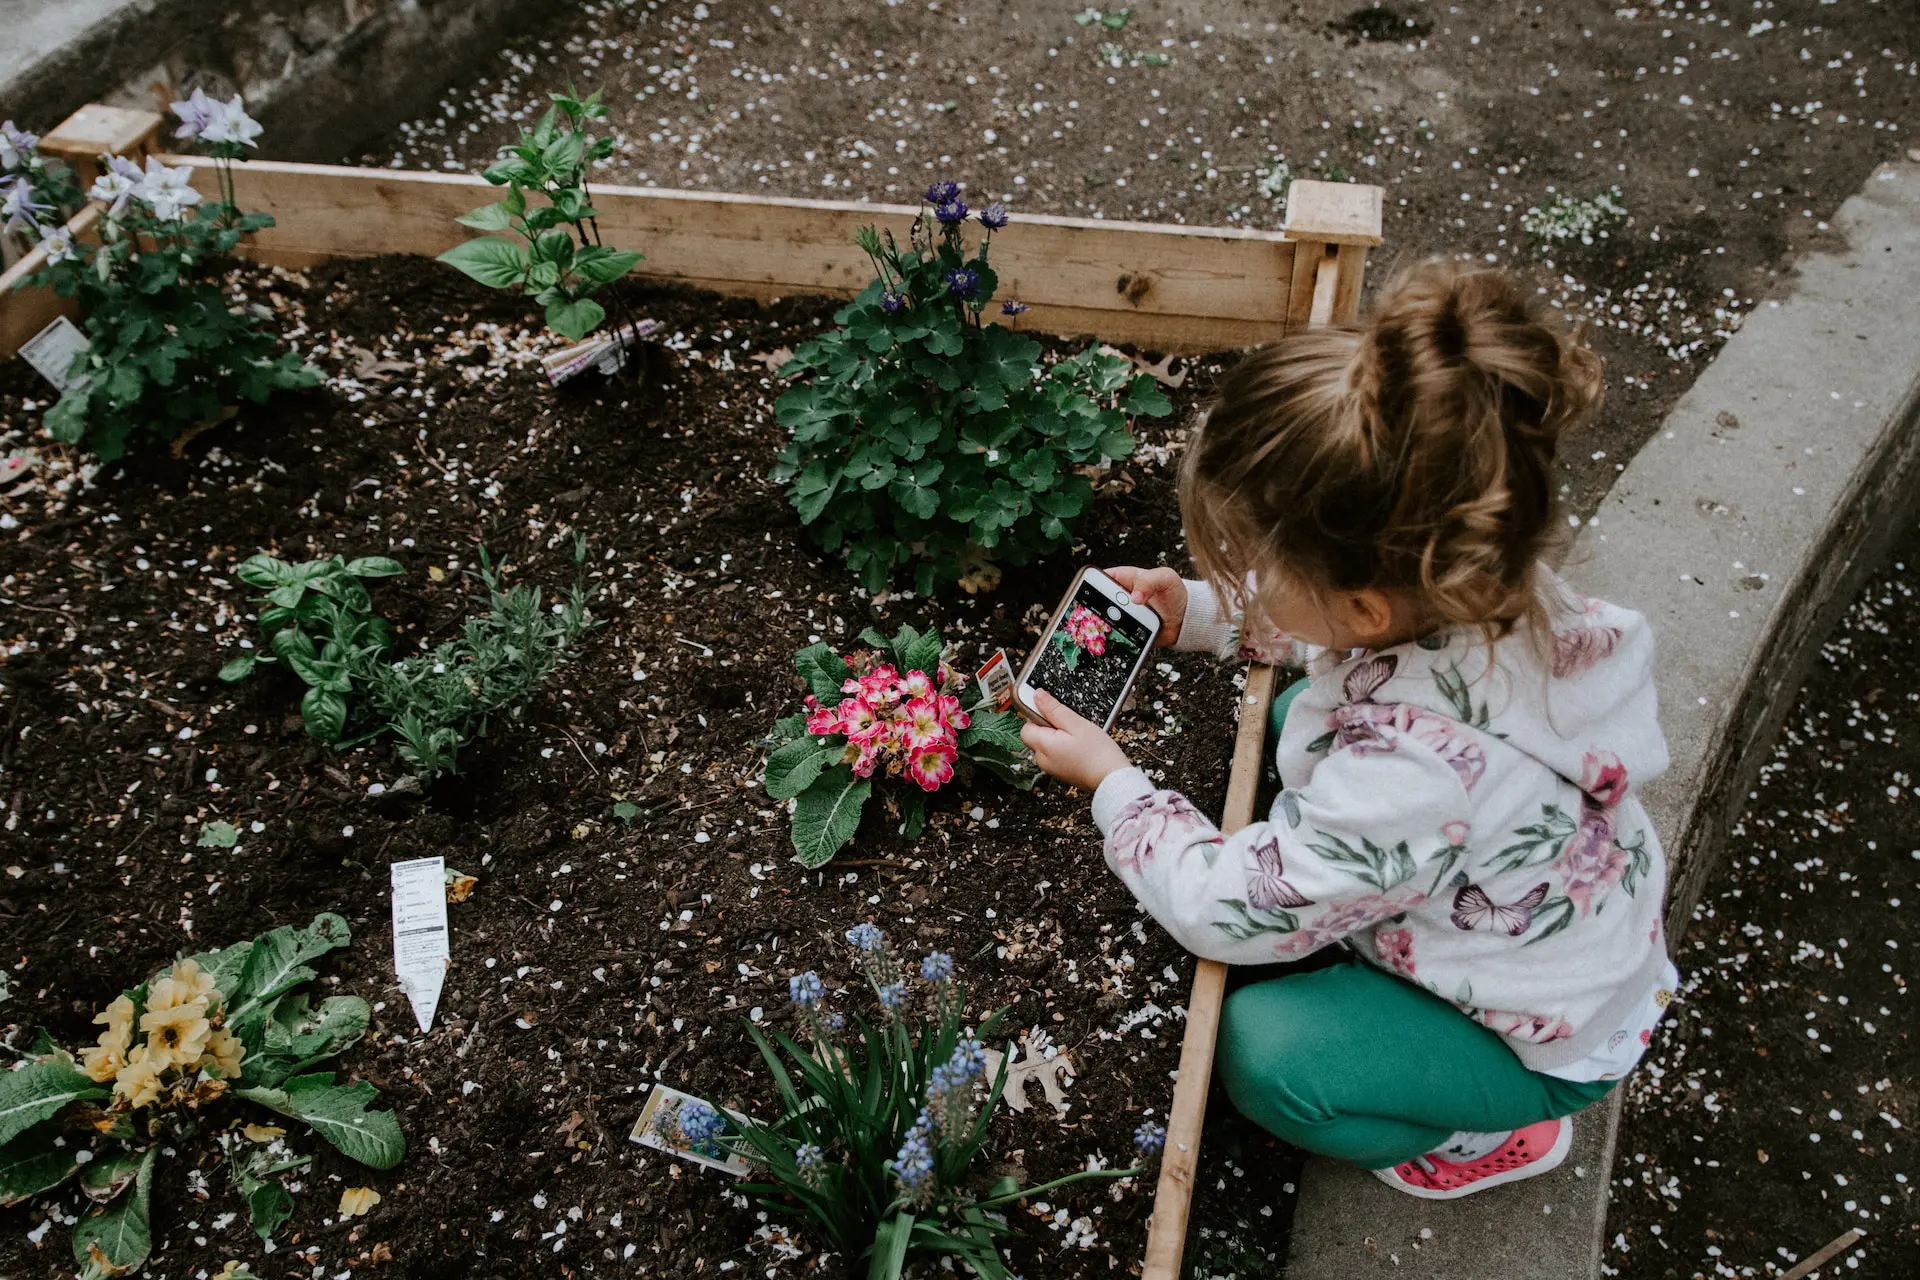
School gardens are a fantastic way to get students outdoors. They’re especially well-suited for hands-on science learning, allowing students to learn from firsthand experience. Growing plants, especially vegetables, requires patience and persistence, but watching the garden progress can be very rewarding for students. There’s nothing quite like eating veggies you grew yourself!
Gardening can be creative, too. Students can work together to design a unique garden and decorate it however they want. School gardens are the ultimate landscape design project! They also allow teachers to bridge the gap between the arts and the sciences by decorating the garden with art projects.
Finally, school gardens are one of the best platforms for teaching students about sustainability, nature and conservation. For example, teachers can use the garden to illustrate how plants, bugs, animals and humans are all connected in their ecosystems. Gardens are also great for lessons on sustainable agriculture and the impact of shifting weather patterns due to climate change.
Starting a garden can be a challenge, especially at smaller schools or in urban areas. However, it’s possible for any school to get a garden going. The process usually follows six basic steps.
If you want to start a garden at your school, you will need a team to help you out. If you are a student, gather some friends and classmates to start a gardening club. Parents and teachers may find it more helpful to create a committee first. This can include faculty members as well as parents, all of whom can appeal to school district leadership for funding and support.
Every student garden needs a school faculty member to oversee the project. If you are a parent or teacher, select someone from your garden committee to fill this role. If you are a student, talk to your teachers and explain why you are interested in starting a garden. Science teachers are often the best choice to sponsor a school garden, so it may be a good idea to start there.
It’s worth noting that the faculty sponsor doesn’t need to pay for the garden. They may certainly contribute money and supplies, but their main job is acting as the adult supervisor for student gardening activities. You can also select a student leader to run the garden club and help the faculty sponsor organize things.
Once you have a club and/or committee established and have a faculty sponsor, the next step is deciding what you will plant. This is often the most scientifically challenging part of the process.
You have to be careful about what plants you put in your garden. Some may actually be bad for your local ecosystem or poorly suited to survive in your climate. Many factors influence how a plant will grow, but there are two you should focus on when selecting plants for your student garden: native plants and plant hardiness zones.
In any given ecosystem, all plants are either native or non-native. Non-native plants are also called invasive species. As a rule of thumb, you should always stick to native plants, whether in a student garden or your own backyard. These are plants that are naturally found in the ecosystem where you live.
Invasive plants are species that, one way or another, migrate into other climates from their own. Sometimes invasive plants are harmless or adapt to their new environment. However, more often than not they cause significant damage to the native ecosystem, killing off other plants, destroying food sources for animals and harming soil quality.
So, do some research on native plants in your area. You can use a directory to find native plants in every state or reach out to local nature and conservation groups.
You also need to consider the climate you live in. Vegetables are not usually considered invasive species, but some types of veggie plants may not be able to survive in certain regions. The United States is split into many plant hardiness zones based on factors like temperature, rainfall and elevation.
You can use the official USDA map of all the zones to find yours. When you’re looking for plants, do some research to verify that they are a good match for your plant hardiness zone.
You need to get permission before setting up any gardening equipment on school property. The process for getting permission to build a student garden will vary from one school to another. However, it’s usually a good idea to start by talking to the principal. At the very least, they will know who to contact and they may even be able to give you permission themselves.
Some schools may require you to talk to the school board about your idea. This is more likely to happen if you need funding from your school to get the garden started.
Regardless of who you need to contact, make a plan first. You can even create a PowerPoint or poster to help explain your idea. Talk about the plants you’re planning to grow, your goals and the benefits of starting a student garden.
Once you have permission to create a garden at your school, you can finally get started collecting supplies and preparing the site. Your school may assign a location where you are allowed to put your garden or you might get to choose it yourself. Try to select a spot with plenty of sunlight and flat ground for setting up raised garden beds. If possible, pick a location near a hose outlet so it’s easy to get water.
You will also need some basic supplies. Work together with your whole club and your adult supervisors to get everything you need. Some people may already have supplies they can donate, others might be willing to purchase things for you and your whole team can collaborate on fundraising if needed.
Here are some essential supplies for any student garden:
The final step is building your garden. Planting day is very exciting for students and a great time to get your whole school engaged in the project. Depending on the size of your student garden, you might plant with just the gardening club or one class of students or you could make it a community event and invite all students and their families.
It’s crucial to have someone on site to supervise the garden building process, such as an experienced gardener or an adult with knowledge of tools and plants. You may want to have some adults assemble the wood frames for your raised garden beds beforehand since this process is more dangerous for kids. (If you are creating a garden for high school students, though, the garden bed frames make a great project for carpentry classes.)
As for the planting, it’s a good idea to assign someone to organize all the planters and show everyone how to properly plant seeds and starts. A science teacher, garden expert, the faculty sponsor or even student leaders are all great candidates for this job. Have everyone team up and take a different section of the garden to plant. Don’t forget to water and label your new plants, too!
The fun is just getting started once you’re finished creating your student garden. Afterward you need to make sure you’re taking care of the garden properly, especially if you’re trying to grow vegetables to eat eventually.
The garden club or committee should get together to study garden maintenance basics and create a schedule for tasks like watering and weeding. For example, different science classes can take turns caring for the garden throughout the year. Remember to also make a plan for summer holidays when students and teachers will be on vacation from school.
Creating a student garden comes with all kinds of amazing benefits like hands-on science learning, arts activities, increased environmental awareness and fun outdoor learning. It requires some hard work to get a school garden going, but it’s well worth the effort. Get your whole school involved and remember to just have fun!