We are reader-supported. When you buy through links on our site, we may earn affiliate commission.
During the COVID-19 pandemic, gardening exploded as a passion amongst veteran and amateur green thumbs. Many seed companies reported record orders and sales as people took up the hobby en masse. While some started growing just for something to do, others began relying on it to get fresh produce. It all starts with getting vegetable sprouts or learning how to save tomato seeds.
Starting from seed isn’t always the most straightforward process, but it can often be the most cost efficient. After all, a single tomato has anywhere from 150 to 300 seeds — much more than a packet offers. There’s significant room for mistakes when one has that many opportunities for a healthy plant. Here is a crash course on how to save tomato seeds and encourage the most productive growth.
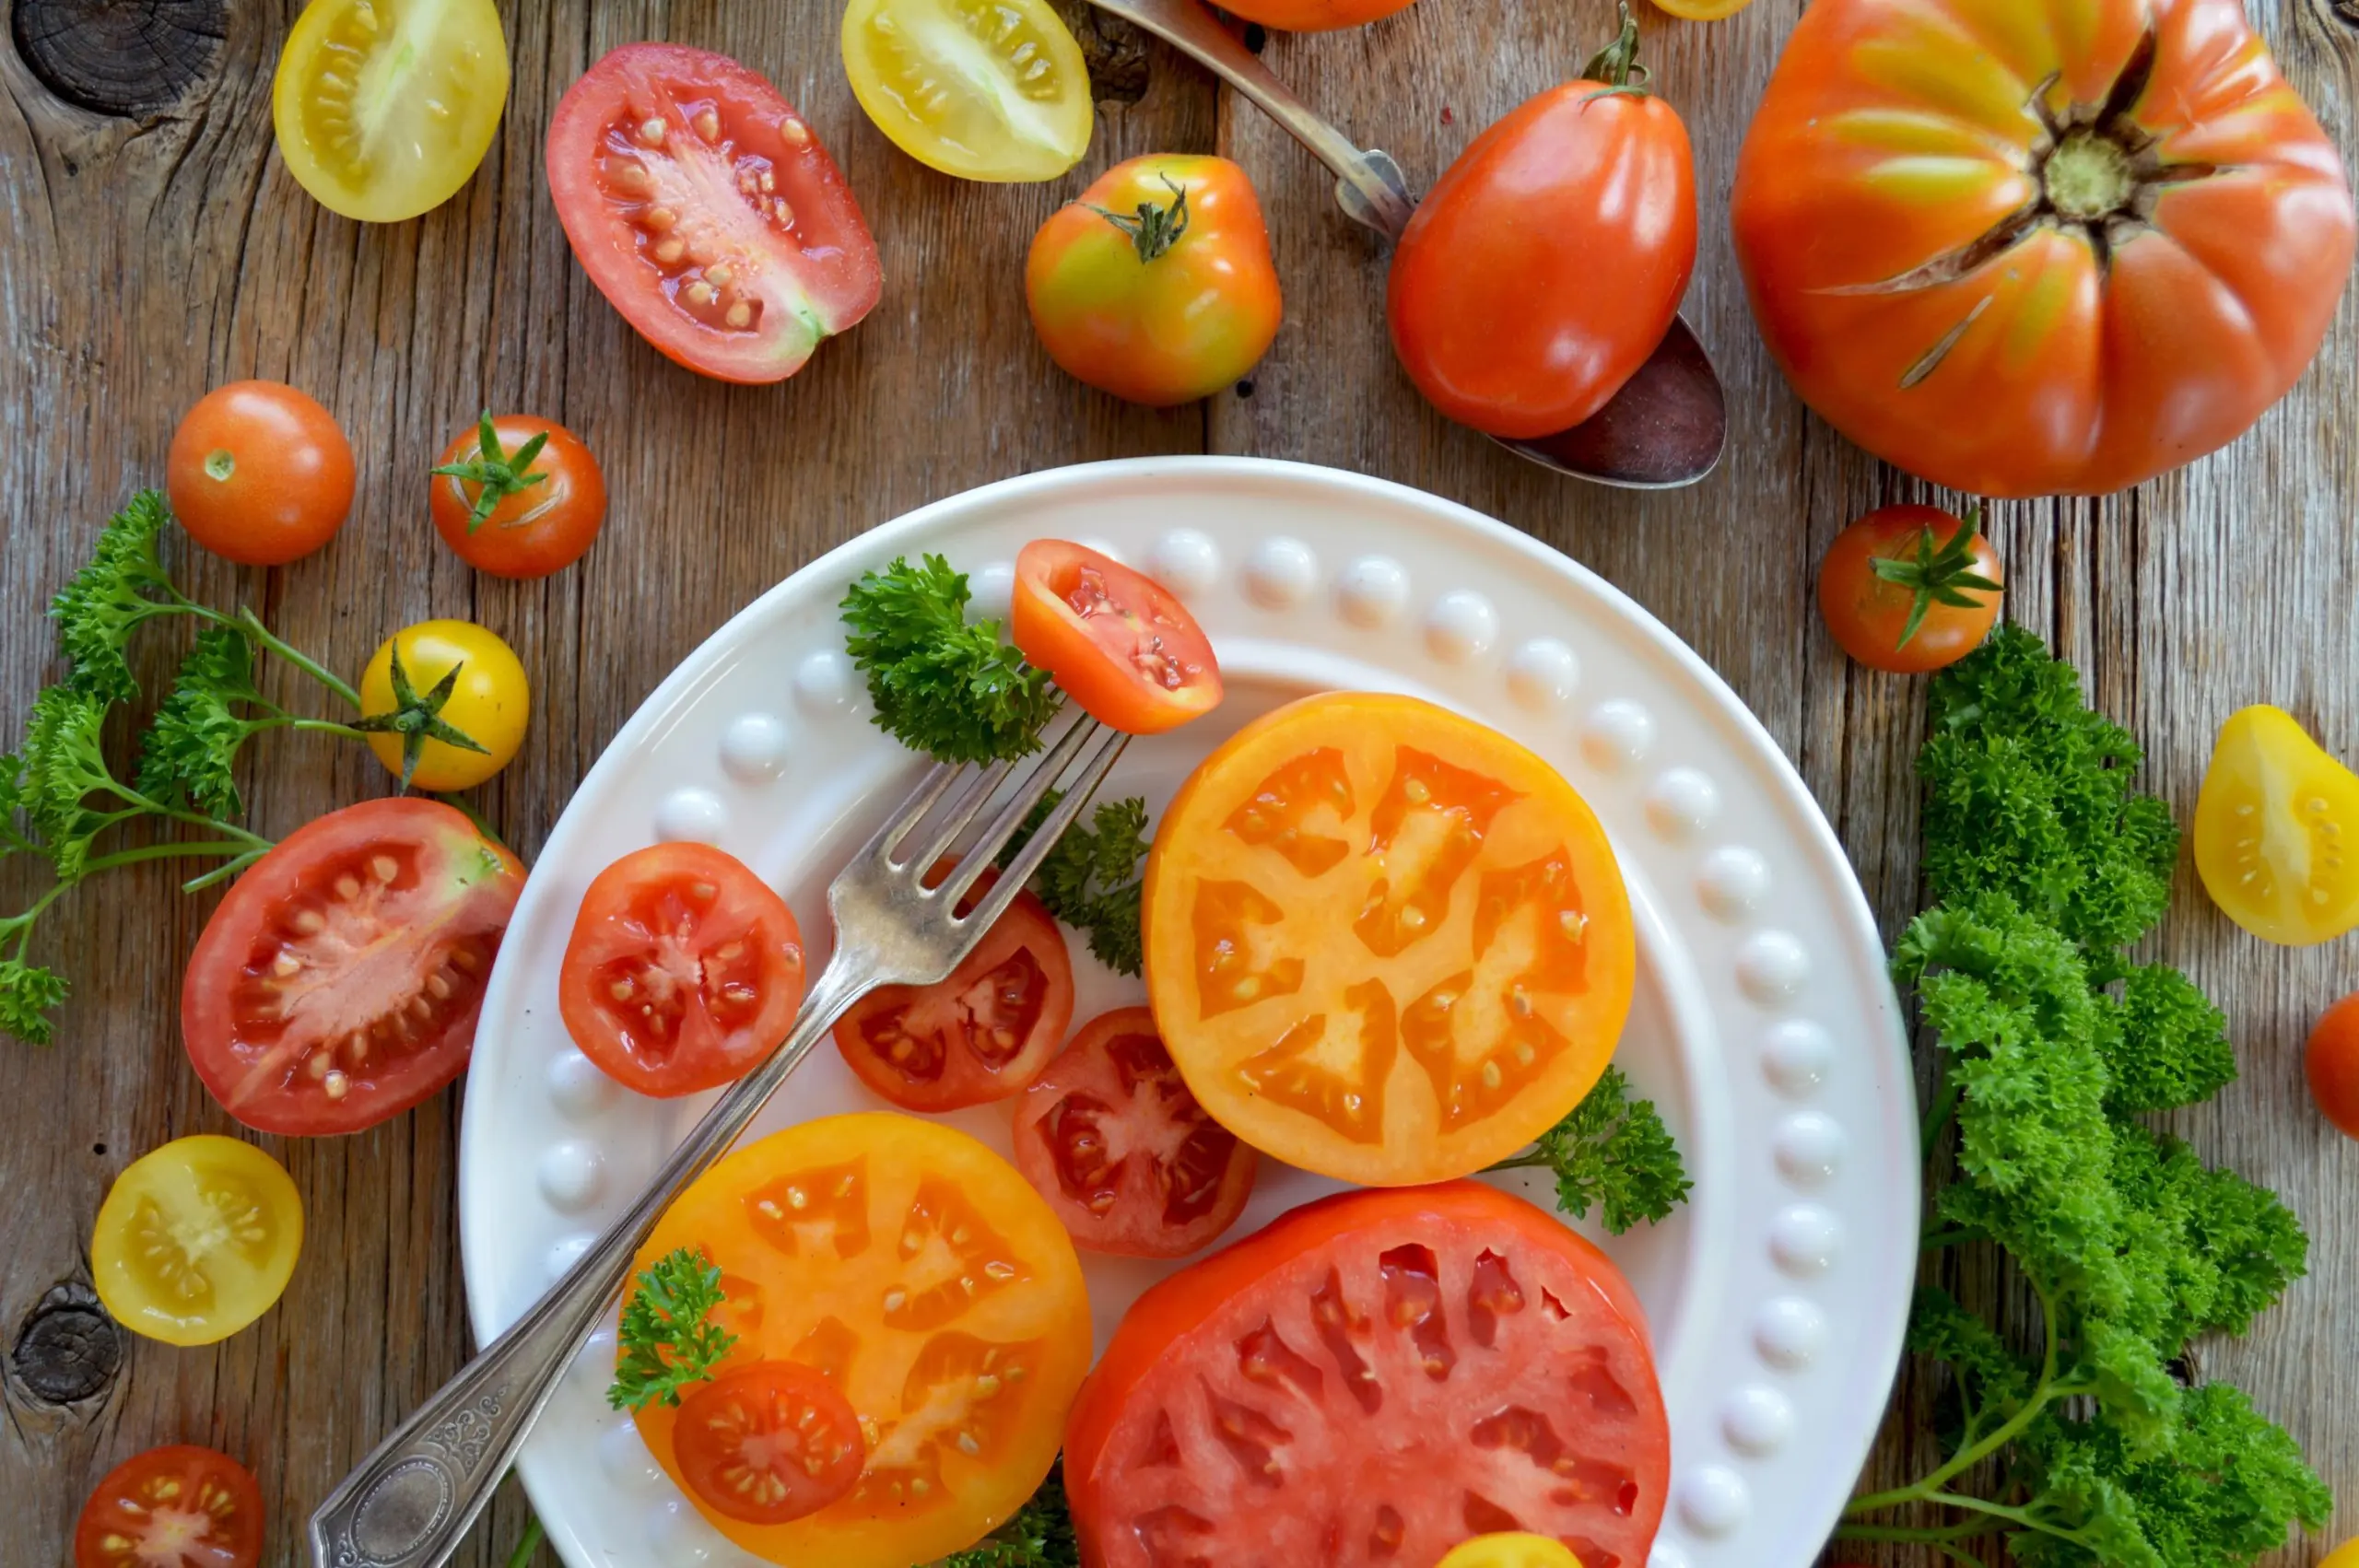
The first step is to select a fully ripe and unblemished tomato. Make sure there is no rotting or illness because the former could cause the seeds not to grow and the latter could spread more of the infection.
Then, wash the tomato thoroughly to ensure no pesticides, dirt, or other contaminants spread to its offspring. Taking the seeds out is easy — all it takes is cutting the tomato in half and spooning them out. Those who love and hate tomatoes are likely familiar with the soft, watery substance that encases the seeds. However, this is excellent for getting the seeds ready for planting, so don’t wash it off before putting them in a resealable container.
Once all the seeds are out of the tomato, cover them with a coffee filter or paper towel. Do this instead of screwing or snapping the lid on so the seeds have the air they need to ferment. Secure the paper of choice to the jar or container with a rubber band so no air-based contaminants can sneak in and leave it in a place where it can reach between 60°F and 70°F for three days.
As the seeds are sitting, mix them around once a day to start freeing them from the encasing membrane. If something white and fungus-looking starts to grow at the top, don’t worry — this is good. That fungus will eat the moist material and make it easier to dispose of. Then, once the three days are up, it’s time to fill the jar with warm water.
The viable seeds will sink to the bottom of the container, so dispose of any that float along with the jelly material. Give them a few minutes to settle after filling so it’s truly evident which ones will work for planting. Rinse and repeat this process until the water runs clear, then strain the good seeds into a fine colander so none can escape while the liquid drains.
Next, place all the seeds on a dry paper towel, paper plate, or newspaper. Let them sit for a few days so they can fully dry out in a well-ventilated area. Remember to move the seeds around each day to ensure they don’t stick together and have enough space for the water to evaporate. Once the seeds are dehydrated, they’re ready to go in a container that will keep them that way, like a plastic bag. Make sure to keep them somewhere dark, dry, and at room temperature.
For those living in areas where cold snaps start pretty early, start the seeds inside to make sure they have enough time to mature and produce fruit. For those who have followed the steps on how to save tomato seeds, introduce them to soil indoors around six to eight weeks before the last frost where they’ll grow. Doing so gives them time to develop into sprouts so they can survive the potentially still-cold weather.
Of course, the temperature can vary widely from year to year. Even though looking up the last frost date in a growing region is prudent, the estimate may not be accurate. However, beginning the tomato seeds inside gives them a much better chance of thriving. After nighttime temperatures stay above 50° Fahrenheit, the seedlings can start acclimating to the new environment. Leave them outside in a safe place for a few days to a week before planting them in the ground so they can harden off.
Naturally, the time it takes for tomatoes to be ready for harvesting depends on the variety. Several kinds of cherry tomatoes take around 57 days to mature, while a beefsteak tomato will likely take more than 80 days. Those new to gardening may run into a few issues when starting out their crop that affect growth and delay the harvesting period.
Like other fruit-producing plants, tomatoes must flower before producing a product. If the plant does not flower, it may not be getting enough water — around an inch or two a week — or sun. When they create flowers but don’t turn into tomatoes, the temperature may not be right, they might not have enough water or sun or the pollinators aren’t visiting them enough. Provide as consistent an environment as possible to encourage growth.
Various pests might also be taking advantage of the flowers and leaves for food, causing the tomato plants to suffer and diminish production. Check the stem near the soil, under the leaves and any fruit to verify if anything is eating them. If there are any, they will require gloved-hand removal or a good hose spraying. Prevent them from returning by using horticultural oils with water or insecticidal soap, which a local garden center may carry or have tips on.
Here are a few quick tips to encourage a robust and fruitful harvesting season for tomatoes:
Tomatoes are a lovely food that contains many seeds, so why not try learning how to save tomato seeds? The fresh fruits will have a taste incomparable to those one would pick up at the store. Not to mention, friends, family and neighbors will surely appreciate some home-grown produce. Expand the vegetable garden — or get one started — by adding tomato seeds to the mix.