We are reader-supported. When you buy through links on our site, we may earn affiliate commission.
Are you still buying baby plants year after year? You already have everything you need without making a trip to the nursery. The only other ingredients are know-how and time. Learning how to save tomato seeds is a snap and provides an ongoing supply. You can even gather everything you need to nurture them to life for free or next to it.
It’s not quite as simple as scraping and planting — but it also doesn’t take long to get the knack. Are you ready to hone your gardening skills, adding valuable knowledge to your survival repertoire? Here’s your guide to how to save tomato seeds.
You can use multiple methods when learning how to save tomato seeds. Each has advantages and disadvantages. The more labor-intensive process generally results in a higher germination rate and a longer shelf life, which is helpful if you’re a prepper starting an heirloom collection.
A two-way tie exists between the easiest methods. If you have an established garden patch, your quickest route could be to dig a trench about two inches deep. Take a cut tomato and squeeze the inside gel and seeds into the trench, covering it with soil and another two inches of mulch. Do this toward the end of the growing season, and you’ll likely see new plant growth in the spring.
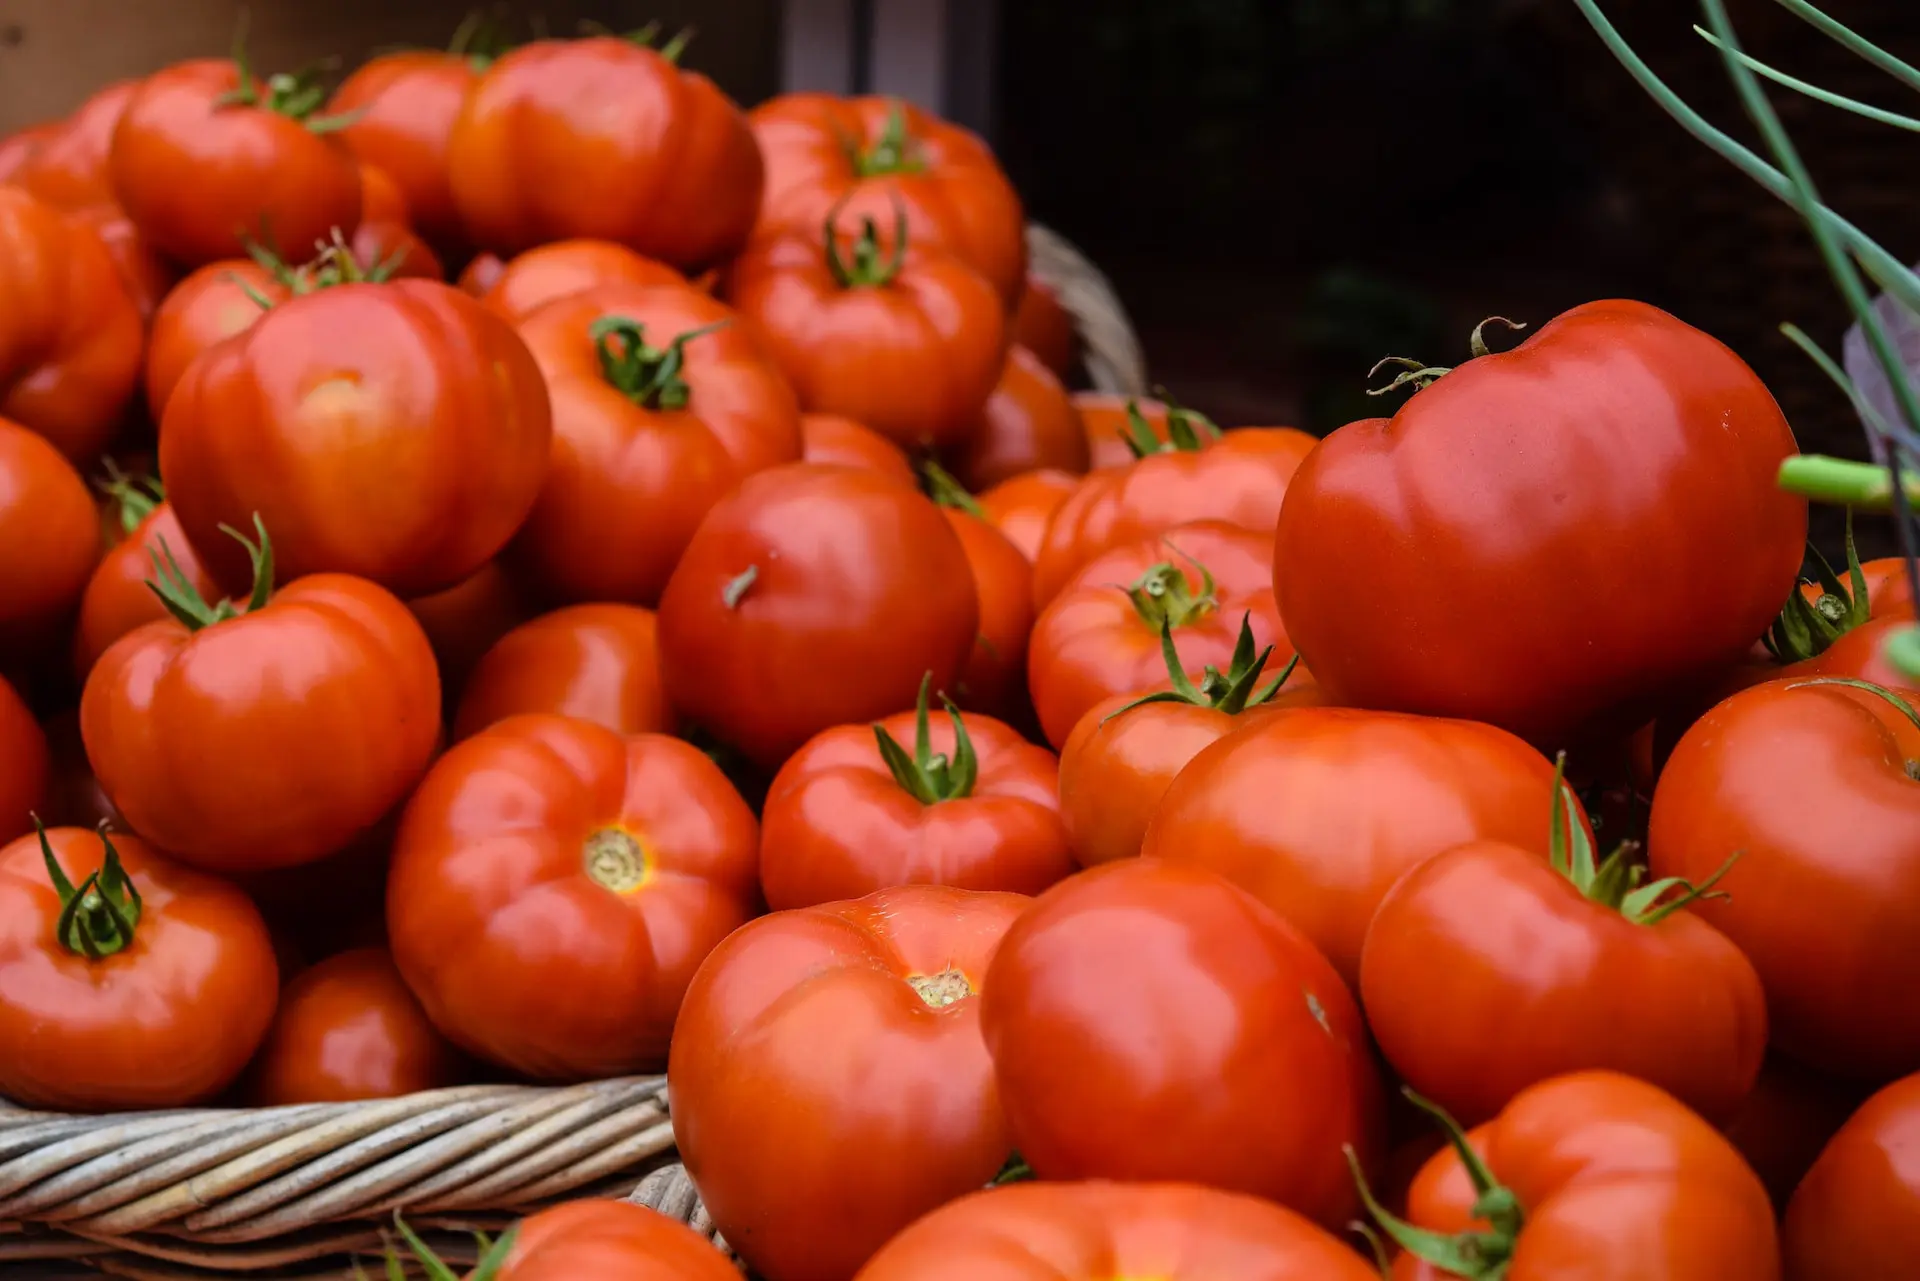
Another simple method is to scrape the seeds and gel from a fresh tomato. Spread them on a paper towel and let them dry for several weeks. Once the gel disappears, you can roll the seeds up in a packet for spring planting or your seeding starter kit. You can also place two or three seeds directly onto a cut piece of coffee filter, inserting it in your seedling starter when ready.
These two methods may or may not result in the best plants. Furthermore, seeds saved by simple drying only last a year, so ensure you use them by the next growing season. If you want longer-lasting seeds, you need to ferment them. It’s slightly more labor-intensive, but you can get it.
To learn how to save tomato seeds via fermentation, gather the following materials:
Begin by scooping out the tomato seeds into a clean bowl, including some of the flesh if necessary — it comes out later. Separate the seed-gel mixture into canning jars, adding up to a cup of water to help separate the seeds from the pulp. Place the jars in a warm, dark place for two to four days.
Every day or so, check the fermentation until you see a layer of mold or bubbles atop the mixture. Don’t leave the seeds fermenting too long, or they may sprout.
When fermentation completes, scoop out the mold, add water to the jar and shake. The good seeds will settle to the bottom, letting you filter out the rest. Pour the remaining seeds into a colander or cheesecloth and give them a thorough rinse.
Spread your seeds on a clean glass plate to dry for a few days. Avoid using paper, as the seeds will stick to it. Once dry, add them to a sealed container, like an envelope inside a canning jar. Your seeds should now keep nearly indefinitely.
If you save the seeds from the produce you buy at the grocery store, you’ll end up with a lot of hybrids. While some gardeners shudder at the term, hybrid plants are not necessarily GMO, nor will they contaminate your garden. Hybridization occurs when farmers select two different plants with desirable characteristics and breed them together — like a labradoodle puppy.
What can happen, though, is that not all of the offspring will display the desired characteristics. You’ll get some plants with fruit you adore, and others that rarely produce or come out bland and tasteless. However, that’s not a problem for the long-term health of your garden, either, if you crack a history book.
Remember learning about Gregor Mendel in high school biology? He’s the monk who played around with pea plants, contributing much of our modern knowledge about genetics. You don’t have to repeat his experiments. Instead, apply his principles to your gardening and seed-saving routine.
When hybrid parents produce undesirable offspring, simply don’t save them. Whether or not you yank the plant from your garden and immediately add it to your compost pile is up to you, although it’s a wise idea. Doing so prevents cross-pollination.
Instead, save only those seeds from plants displaying the desired traits. In a few short generations, you’ll have heirlooms — plants with a singular genetic lineage that produce predictable results, year after year.
If you’re a prepper looking to create heirloom strains and save them, learning how to save tomato seeds is crucial. It’s equally important to store them properly so that they last indefinitely.
You’ll need an airtight container to prevent moisture from damaging your seeds. If you have a spare silicon gel pack, perhaps leftover from something you ordered, include it in the sealed jar to further deter moisture.
You’ll also want to keep your seeds in a cool, dry place. A root cellar is a good choice if you have one, but many people lack one these days. An alternative is to save tomato seeds in your freezer until you need them. When you get ready to plant:
Once you learn how to save tomato seeds, consider expanding your gardening know-how. After all, you want to be fully self-sufficient. What are your next suggested steps?
Knowing how to save tomato seeds is a valuable life skill. It provides a necessity of life — food — increasing your sense of security. It also saves you money and gets you one step closer to a self-sufficient, sustainable lifestyle.
Share the art of how to save tomato seeds with your friends and loved ones. Share your new skill with a community garden once you get good at it. A healthier, more sustainable world is possible, and it starts with reuniting people with the life cycle and the goodness here on Earth.