How to Grow Mushrooms at Home
We are reader-supported. When you buy through links on our site, we may earn affiliate commission.
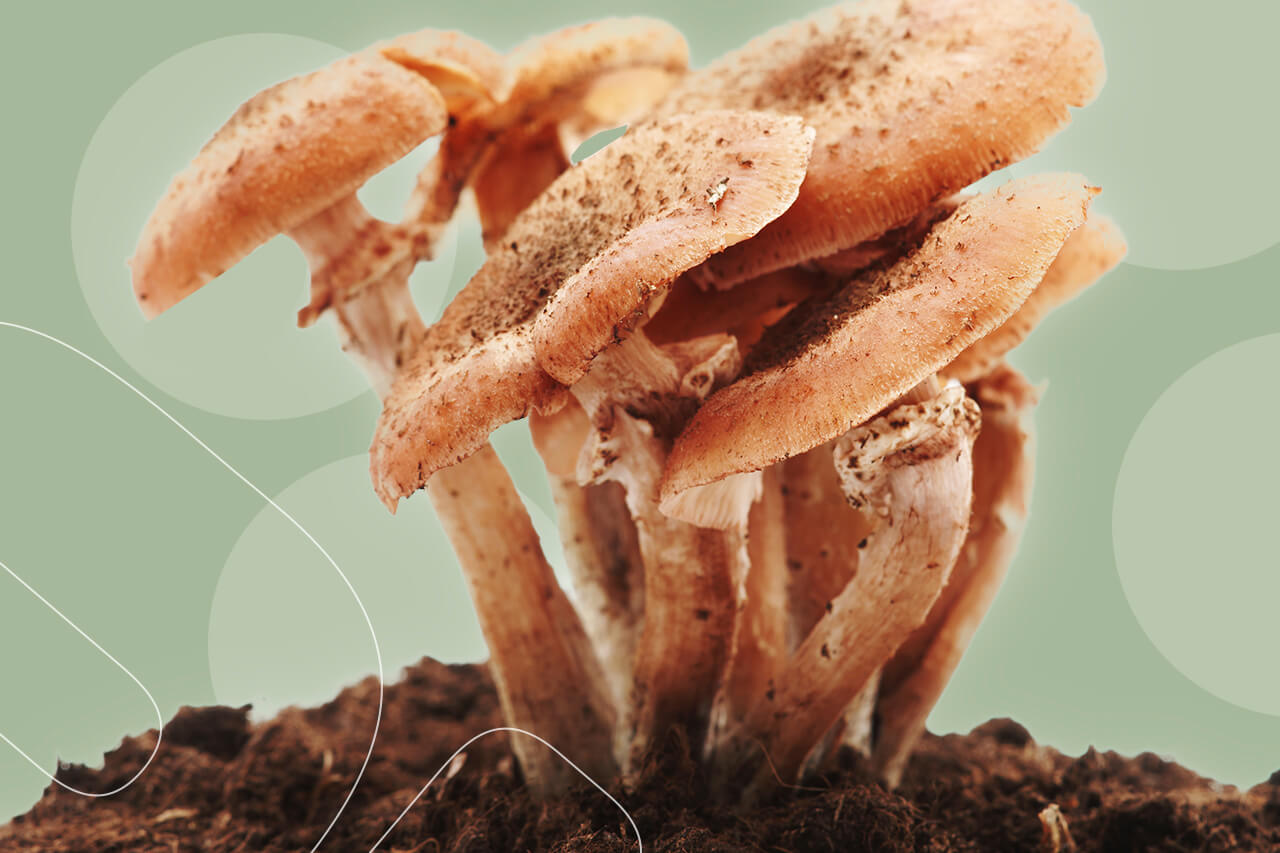
Some people buy their mushrooms from the store. Others get them from foraging the forest floor. Then, there are mushroom growers. You’d think that these people specialize in fungiculture or grow huge fields of mushrooms. Yet, those who produce and harvest their own mushrooms often do so at home.
Gourmet mushrooms, such as oyster and shiitake, are easy to cultivate, allowing small growers to earn a small profit by selling them to restaurants and foodies. Perhaps you’ve even imagined doing so yourself, and why not? It’s a beginner-friendly activity that’s good for the environment and fun for the whole family. What’s not to love?
Here’s how to get started growing mushrooms at home — and what to do with your plentiful harvest.
How Do Mushrooms Grow?
Before you dig in — pun intended — there are a few things you should know about fungiculture and the mushroom life cycle, in general. First, cultivating fungi is all about being patient. Because most growth occurs below ground, growers won’t see progress until the fruitbody emerges and the mushrooms are ready for harvest. Once they’re ripe for picking, they’ll only remain that way for a few days before withering away.
Unlike plants, mushrooms sprout from spores, which fall from the cap and alight on a growth medium or substrate. If conditions are favorable, the spores will germinate and grow filaments called hyphae. They then mate to create mycelium, which acts as the mushroom’s immune system.
The mycelium expands exponentially until it forms hyphal knots from which primordia or baby mushrooms will develop. It then chooses a few to become mature fruitbodies, which quickly burst through the substrate and become full-grown mushrooms, available for harvest. Those that remain may release more spores so the life cycle can begin anew and you can keep on growing.
1. Make Your Substrate
The easiest way to start your own mushroom farm is to purchase a grow kit, which comes with a block of substrate already containing mushroom spores. In this case, you can skip ahead to step number three.
If you’d rather start from scratch, make your own compost or substrate based on the type of mushroom you want to grow. You can cultivate practically any variety indoors, but each one requires a different growing medium.
For instance, oyster mushrooms, which are the easiest variety to cultivate, thrive in a substrate of things like coffee grounds and straw. Others, like button mushrooms, require a composted manure substrate to grow. Once you determine which ingredients to include, set about gathering them and turning them into a usable growing medium.
2. Plant the Mushroom Spawn
In the wild, hyphae generally sprout from spores. However, in a controlled, indoor environment, they sprout more easily from spawn. Spawn is a mixture of spores and nutrients like straw, wood chips or grain. It acts like a sourdough starter, giving you all the ingredients you need to make a delicious final product.
Once you’ve created or purchased spawn, you can plant them in the substrate. Use planting trays that measure approximately 14 by 16 inches. They should be 6 inches deep to allow for optimal mycelial growth. Fill the trays with substrate, leaving an inch of space at the top. Sprinkle the spawn on the growth medium, cover with an inch of soil and spritz the with water to promote germination.
3. Create an Ideal Growing Environment
Mushrooms like cool, damp, dim environments that are between 55°F and 60°F. Luckily, growing them indoors allows you to control these and other important factors. Often, a basement, shed or garage will work just fine. However, you might also test out a closet or steamy bathroom since most varieties enjoy humid habitats and can tolerate some light.
Keep the soil moist by spritzing it with water once or twice a day or covering the trays with damp towels. Otherwise, follow the instructions that accompany your mushroom grow kit. Often, these kits require little to no maintenance. They only require a dim, temperature-controlled environment to thrive.
4. Harvest and Enjoy
Depending on which variety of mushrooms you grow and how well you accommodate them, the fruitbodies should appear within a few days or weeks. When the caps open, they’re ready for harvest. Cut the stalk with a sharp knife and avoid pulling on the stems so as not to disturb the mycelium and surrounding fungi that are still developing.
Loosely wrap the mushrooms in paper towels and store them in paper bags in the fridge. There, they should last a few days, and you can easily add them to recipes before they wrinkle and wither. Enjoy your mushrooms roasted with red wine butter, in a cheesy pasta dish or on pizza. However you eat them, they’ll likely taste better than the store-bought ones. Anyone with a garden can tell you that.
Maintaining a Steady Supply
Once you establish a mushroom growing station in your home or backyard, it’s super easy to keep them growing. Simply keep a damp cloth over the substrate and harvest your crop once a day to promote healthy growth.
Eventually, you might have to add fresh spawn to maintain a steady supply. At this point, you might consider selling some of your yield to farm-to-table restaurants or local mushroom suppliers. This route could easily make you a few thousand dollars a year, even with a small home operation. Happy growing!
Share on
Like what you read? Join other Environment.co readers!
Get the latest updates on our planet by subscribing to the Environment.co newsletter!
About the author

Jane Marsh
Starting from an early age, Jane Marsh loved all animals and became a budding environmentalist. Now, Jane works as the Editor-in-Chief of Environment.co where she covers topics related to climate policy, renewable energy, the food industry, and more.


